Xiaobai Training Camp Lesson 1 - Create a repository
Hi, everyone, if you don't know how to use on this platform, you can follow the courses to explore it~
After joining the OpenI community, the first task of coming to the personal center is to create a repository, so the first lesson is to teach you how to create a repository.
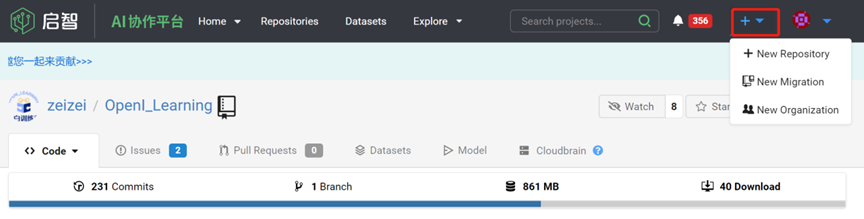
First, let's take a look at the effect after creating the repository.
Next, we will use 3 steps to achieve it~
Step1. Create a repository
There are two ways to create a repository.
Method 1: select the [+] sign on the left side of the avatar in the top navigation bar, drop down and select [New Repository].
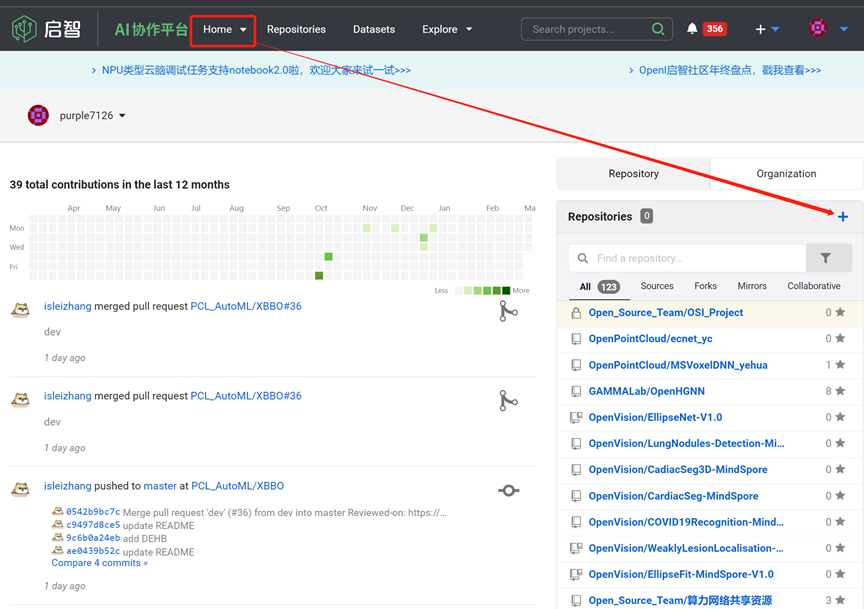
Method 2: On the [Home] page, directly click the [+] sign on the right side of the repository list to create a repository.
Step2. Fill in the repository information
After clicking [Create Repository], in order to quickly create a repository, that is, to achieve the final effect of this course, it is recommended to fill in the following items:
Owner (default is the user himself) --required
repository name (repository name supports Chinese, letters, numbers and -_ ., up to 100 characters)--required
repository description -- optional
Initialize the repository (this step is critical) -- it is recommended to check, if not checked, please refer to Step4 supplemented at the end of the article
Other relevant information can be filled in according to the user's needs. For example, the visibility can be set to be private or public; the task label can choose the system default label, such as bug/enhancement, etc., and these default labels can be added to subsequent tasks. You can also add and set tags after the repository is created.
Step3. Click [Create Repository] to complete the submission of repository information
Based on the Step2 operation, after clicking the green button to complete the repository creation, the page will jump to the [Code] tab of the repository, displaying the repository we just created, and completing the Initial commit of the README.md file.
At the same time, the repository name and repository description are displayed by default in the content of the README.md file.
Based on the above 3 steps, we quickly completed the creation of the repository and achieved the final effect of this course.
BUT... If the item [Initialize Repository] is not checked in the repository filling step of Step 2, what will be the effect after clicking Create repository?
So how do you create a new repository from the command line and submit a README.md file? Here is a little trick, please refer to Lesson 3 and lesson 4.
In short, follow the first 3 steps to quickly create a repository. Let's try it out~